
Welcome, dessert lovers! Today, we’re diving into the world of Dutch oven desserts. Yes, you heard it right! Those heavy, lidded pots aren’t just for stews and roasts. They’re also a secret weapon for creating mouthwatering desserts.
The Dutch oven, a centuries-old cooking tool, is renowned for its versatility, with a rich history that spans various cultures and cooking styles. From simmering soups to baking bread, it’s a one-pot wonder. But have you ever thought about its sweet side? The Dutch oven’s ability to evenly distribute heat makes it perfect for baking. And when it comes to desserts, this is a game-changer.
Why Dutch Oven Desserts are a Game-Changer in Home Baking
So, why are Dutch oven desserts such a big deal? Well, it’s all about the heat. The Dutch oven’s design allows for even heat distribution, which is crucial for baking. This means your desserts cook evenly, without the hot spots that can cause burning or undercooking. Plus, the heavy lid traps in moisture, preventing your sweet treats from drying out.
But it’s not just about the heat. Dutch ovens are also incredibly durable and long-lasting. They can withstand high temperatures, making them ideal for oven baking. And they’re easy to clean, too. So, you can whip up a sticky, gooey dessert without worrying about the cleanup.
In the coming sections, we’ll delve deeper into the science behind perfect Dutch oven desserts, essential tools and ingredients, and some delicious recipes to get you started. So, buckle up and get ready for a sweet ride!
The Science Behind Perfect Dutch Oven Desserts
Mastering the Heat: The Secret to Flawless Dutch Oven Baking
Heat is the soul of baking, and in Dutch oven desserts, mastering heat is crucial for achieving the perfect balance between a soggy bottom and a crisp crust, as the even heat distribution of a Dutch oven is key to baking success. Dutch ovens, with their thick walls and tight-fitting lids, excel in creating an even, ambient heat. This is akin to a mini-oven within your oven, ensuring your desserts bake uniformly.
But how exactly does this work? The cast iron or heavy material of a Dutch oven absorbs heat slowly and distributes it evenly. This prevents the common baking pitfall of undercooked middles or burnt edges. Moreover, the lid traps steam, which is a boon for moist, tender desserts. Think of it as creating the perfect environment for your sweets to thrive.
Choosing the Right Dutch Oven for Your Desserts
Not all Dutch ovens are created equal, especially when it comes to desserts. Size, shape, and material matter. A round, 5-6 quart Dutch oven is versatile, ideal for a variety of dessert recipes. Cast iron is the go-to for its heat retention properties, but enameled versions offer a non-stick advantage, crucial for sticky, sugary concoctions.
Maintenance is key. Whether cast iron or enameled, proper care ensures your Dutch oven remains a reliable dessert-making ally. Seasoning cast iron, avoiding metal utensils on enamel, and gentle cleaning can extend the life of your Dutch oven, making it a cherished tool for years.
In the next sections, we’ll explore the tools and ingredients that elevate your Dutch oven dessert game. Plus, we’ll share a simple yet delectable recipe to kickstart your journey. Stay tuned for a sweet adventure that promises to delight your taste buds and impress your dinner guests.
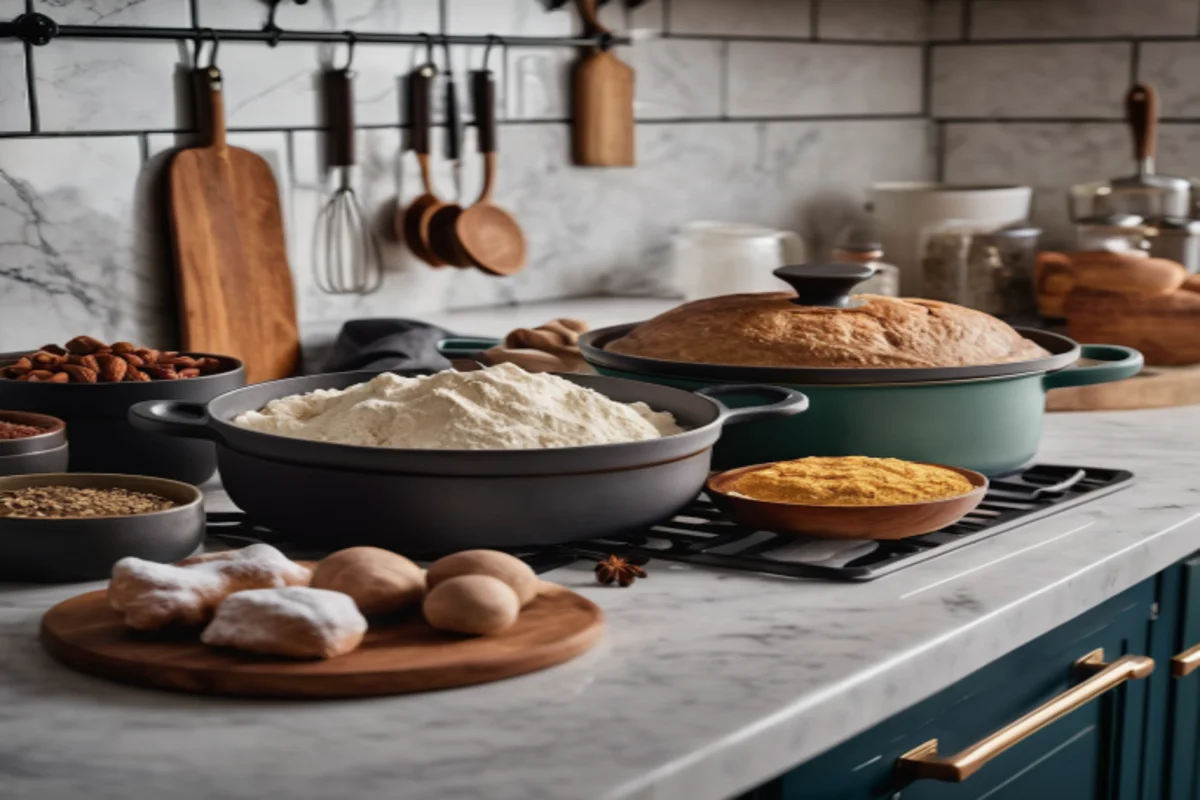
Essential Tools and Ingredients for Dutch Oven Baking
Must-Have Tools for Dutch Oven Dessert Success
Baking Dutch oven desserts is a joy, but having the right tools can make the process even smoother. Here are some essentials:
- Heat-resistant gloves: Dutch ovens get hot, really hot. Protect your hands with a pair of sturdy, heat-resistant gloves.
- Lid lifter: This handy tool makes it safe and easy to check on your dessert without burning your fingers.
- Long-handled tongs: Useful for removing hot items from the Dutch oven.
- Trivet: A trivet elevates your dessert, preventing it from burning on the bottom.
Remember, safety first. Always use caution when handling a hot Dutch oven.
Stocking Your Pantry: Ingredients That Make a Difference
The beauty of Dutch oven desserts lies in their simplicity. You don’t need fancy ingredients to create something delicious. Here are some pantry staples for Dutch oven baking:
- Flour: The backbone of many desserts. Choose the right type for your recipe.
- Sugar: White, brown, powdered – each brings a different flavor and texture.
- Butter: Adds richness and flavor. Unsalted gives you control over the dessert’s saltiness.
- Eggs: They provide structure and moisture to your desserts.
- Leavening agents: Baking powder and baking soda help your desserts rise.
- Spices: Cinnamon, nutmeg, and vanilla extract can elevate the flavor profile of your dessert.
With these tools and ingredients, you’re well on your way to creating delightful Dutch oven desserts. Up next, we’ll walk you through a simple yet delicious recipe to get you started.
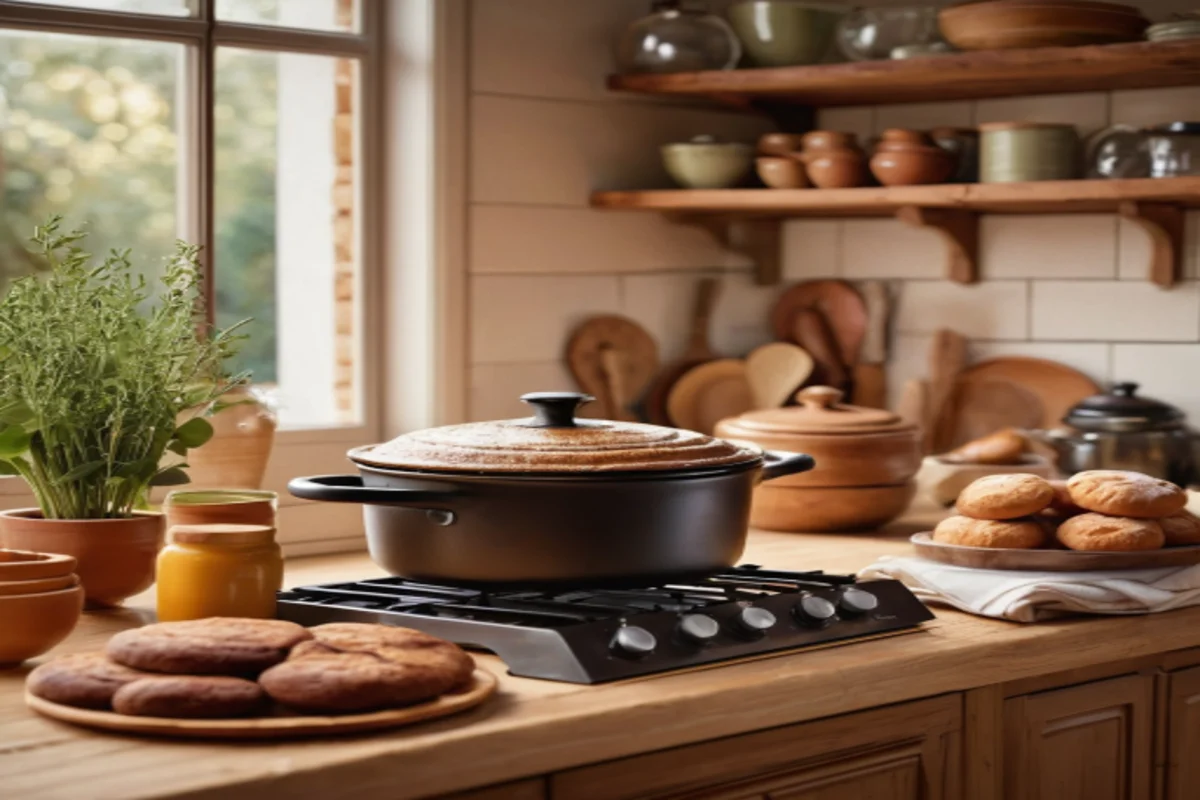
Step-by-Step Guide to Making Your First Dutch Oven Dessert
Your First Dutch Oven Dessert: A Simple Yet Delicious Recipe
Embarking on your Dutch oven dessert journey? Let’s start with a classic that’s sure to impress: the Dutch Oven Apple Crisp. For those who love the simplicity and magic of Dutch oven baking, our Baked Thin Chicken Breast guide offers insights into perfecting another classic dish.
Classic Dutch Oven Apple Crisp
Ingredients:
- 6 medium apples, peeled, cored, and sliced
- 1 teaspoon cinnamon
- 1/4 cup granulated sugar
- 1 tablespoon lemon juice
- For the topping:
- 3/4 cup all-purpose flour
- 3/4 cup rolled oats
- 1/2 cup brown sugar, packed
- 1/2 teaspoon baking powder
- 1/2 teaspoon cinnamon
- 1/3 cup unsalted butter, melted
- Pinch of salt
Instructions:
- Preheat your oven to 350°F (175°C) if using an indoor oven. For outdoor cooking, prepare your coals.
- Mix the apples with cinnamon, granulated sugar, and lemon juice. Place them in the bottom of your Dutch oven.
- Combine the flour, oats, brown sugar, baking powder, cinnamon, and salt for the topping. Stir in the melted butter until the mixture is crumbly.
- Sprinkle the topping evenly over the apples.
- Cover the Dutch oven with its lid. Bake for about 45 minutes, or until the topping is golden brown and the apples are tender.
- Serve warm, ideally with a scoop of vanilla ice cream or a dollop of whipped cream.
Tips for Customization and Serving Suggestions:
- Fruits: Feel free to mix in other fruits like pears or berries for a twist.
- Nuts: Add chopped walnuts or pecans to the topping for extra crunch.
- Spices: Experiment with spices like nutmeg or allspice in addition to cinnamon for deeper flavor.
This Dutch Oven Apple Crisp is just the beginning. Once you’ve mastered it, you’ll find that the possibilities for Dutch oven desserts are endless. From cobblers to cakes, your Dutch oven is your ticket to an exciting world of baking.
Advanced Techniques for Dutch Oven Dessert Mastery
Elevating Your Dutch Oven Desserts: Tips and Tricks from the Pros
Once you’ve dipped your toes into the warm, comforting waters of Dutch oven desserts, it’s time to elevate your game. Here are some advanced techniques that can transform your baking from good to extraordinary.
Achieving Different Textures
The secret to unforgettable desserts often lies in the texture. Here’s how to manipulate your Dutch oven environment to achieve different results:
- For Crispy Toppings: To achieve that desirable crunch, increase the heat towards the end of baking and slightly crack the lid to allow moisture to escape, a technique that’s especially effective in the moisture-retaining environment of a Dutch oven. This technique is perfect for crisps and crumbles.
- For Moist Cakes: Ensure the lid is tightly sealed to trap steam inside. This creates a moist environment, ideal for cakes and brownies.
Incorporating Fruits, Nuts, and Spices
Diversity in flavors and textures makes a dessert stand out. Here are some ideas to get creative:
- Fruits: Layer fruits at the bottom or mix them into the batter. Apples, pears, berries, and peaches work wonderfully.
- Nuts: Toast nuts before adding them to your dessert for an extra crunch and flavor boost.
- Spices: Don’t shy away from experimenting with spices. Cardamom, cloves, and star anise can offer a unique twist to traditional recipes.
Mastering the Art of Layering
Layering ingredients can add complexity and visual appeal to your desserts. Here’s a simple guide:
- Start with a Base: This could be fruit, a sponge cake, or a cookie crumble.
- Add a Filling: Consider custards, cream fillings, or more fruits.
- Top it Off: Finish with a layer of nuts, whipped cream, or a streusel topping.
Using Your Dutch Oven Outdoors
Dutch ovens are not just for the kitchen. They’re also perfect for outdoor cooking. Here’s how to adapt:
- Charcoal Briquettes: Learn the number of briquettes needed for the desired temperature. Generally, each briquette adds about 25°F.
- Rotating the Lid: Rotate the lid every 15 minutes to ensure even cooking, especially for desserts that require a delicate touch.
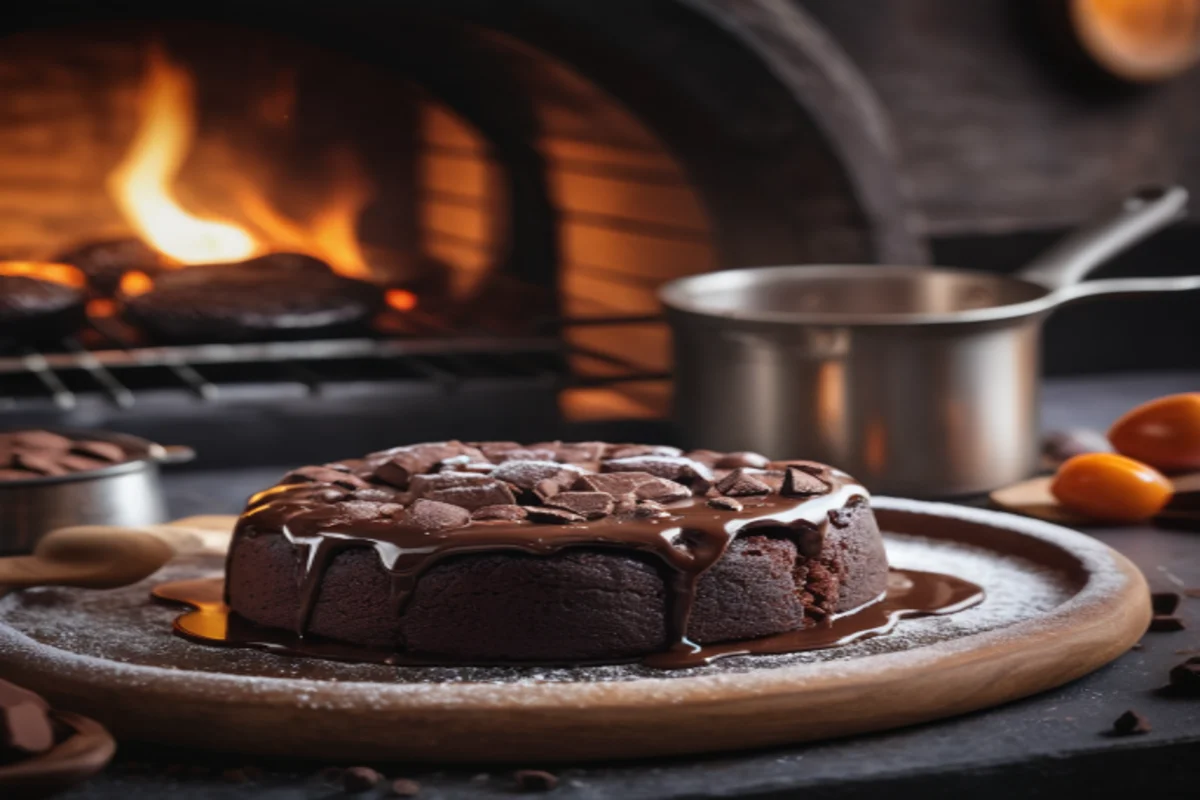
Advanced Recipe Idea: Dutch Oven Chocolate Lava Cake
Ready to test your new skills? Try this indulgent recipe that’s sure to impress:
Ingredients:
- 1 cup fine chocolate chips
- 1/2 cup unsalted butter
- 1/4 cup all-purpose flour
- 1/2 cup powdered sugar
- 2 large eggs
- 2 egg yolks
- 1 tsp vanilla extract
- A pinch of salt
Instructions:
- Melt chocolate and butter in the Dutch oven over low heat.
- Stir in flour, sugar, and salt.
- Add eggs, yolks, and vanilla, mixing until smooth.
- Bake at 425°F (220°C) for about 12-14 minutes. The center should be soft but sides firm.
- Serve immediately for a gooey, molten center.
Embrace these techniques and ideas to create Dutch oven desserts that are not just food, but an experience. Your Dutch oven is a gateway to endless culinary adventures, limited only by your imagination.
Top 5 Dutch Oven Dessert Recipes to Try at Home
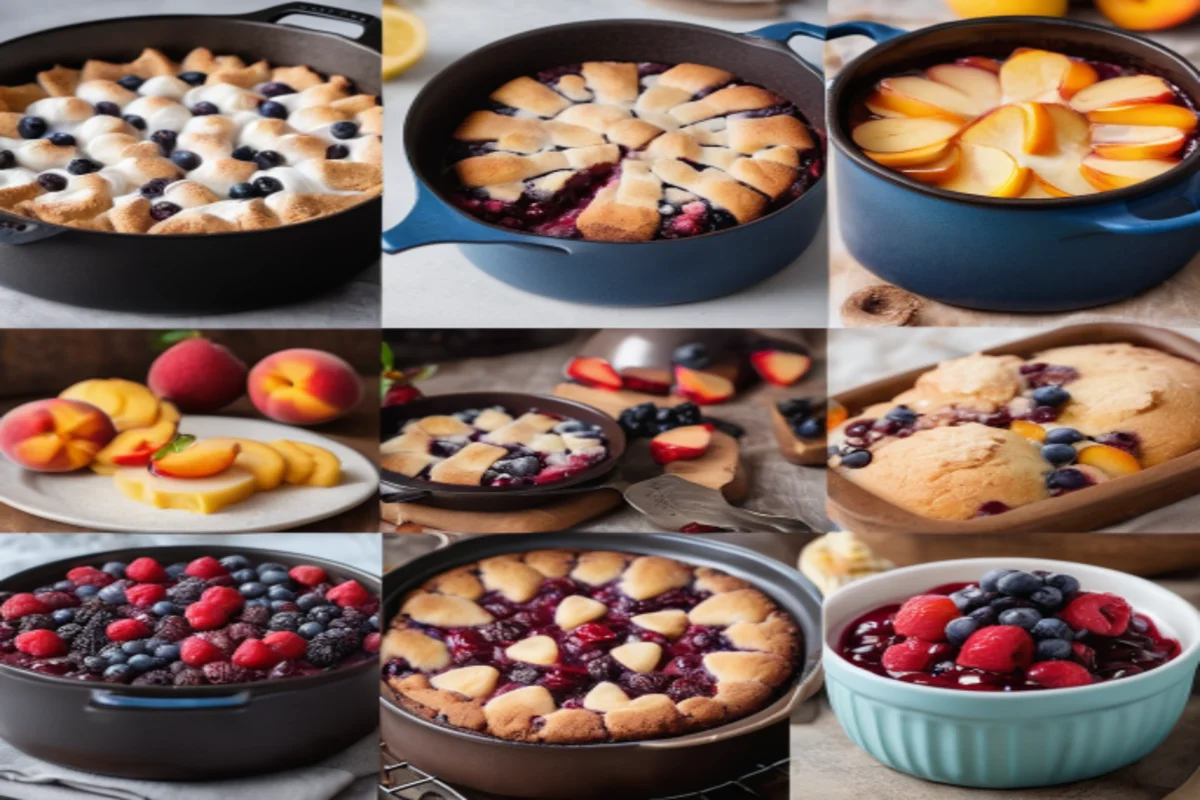
From Cobblers to Cakes: Diverse Desserts to Delight Your Palate
Now that you’re equipped with the basics and some advanced techniques, it’s time to expand your Dutch oven dessert repertoire. Here are five must-try recipes that showcase the versatility and potential of your Dutch oven.
Berry Cobbler
Ingredients:
- 4 cups mixed berries (fresh or frozen)
- 1/2 cup granulated sugar
- 2 tablespoons cornstarch
- 1 cup all-purpose flour
- 1/4 cup white sugar
- 1/4 cup brown sugar
- 1 teaspoon baking powder
- 1/2 teaspoon salt
- 1/4 cup boiling water
- 2 tablespoons unsalted butter, melted
Instructions:
- Toss berries with granulated sugar and cornstarch and place in the Dutch oven.
- Mix flour, sugars, baking powder, and salt. Stir in boiling water and melted butter until combined.
- Spoon the mixture over the berries.
- Bake at 350°F (175°C) for about 35-40 minutes until the topping is golden.
Chocolate Lava Cake
Ingredients:
- 1 cup semisweet chocolate chips
- 1/2 cup unsalted butter
- 1 cup powdered sugar
- 3 large eggs
- 1 egg yolk
- 1/2 cup all-purpose flour
- 1 teaspoon vanilla extract
Instructions:
- Melt chocolate and butter in the Dutch oven, stirring until smooth.
- Whisk in powdered sugar, eggs, and yolk until well combined.
- Fold in flour and vanilla.
- Bake at 425°F (220°C) for 14-16 minutes. The edges should be firm but the center soft.
Peach Upside-Down Cake
Ingredients:
- 4 tablespoons unsalted butter
- 1/2 cup brown sugar
- 4-5 ripe peaches, sliced
- 1 1/2 cups all-purpose flour
- 1/2 cup granulated sugar
- 1/4 cup milk
- 2 teaspoons baking powder
- 1/2 teaspoon salt
- 1/4 cup unsalted butter, softened
- 1 large egg
Instructions:
- Melt butter and brown sugar in the Dutch oven until caramelized. Arrange peach slices on top.
- Cream softened butter and granulated sugar. Beat in egg and milk.
- Combine dry ingredients and mix into the wet ingredients.
- Pour batter over peaches and bake at 350°F (175°C) for about 45 minutes.
S’mores Dip
Ingredients:
- 2 cups chocolate chips
- 1 can sweetened condensed milk
- 1/2 teaspoon vanilla extract
- 2 cups mini marshmallows
Instructions:
- Combine chocolate chips and condensed milk in the Dutch oven over low heat until melted.
- Stir in vanilla extract.
- Top with marshmallows and broil until golden brown.
Lemon Blueberry Bread
Ingredients:
- 1/3 cup melted butter
- 1 cup granulated sugar
- 3 tablespoons lemon juice
- 2 eggs
- 1 1/2 cups all-purpose flour
- 1 teaspoon baking powder
- 1 teaspoon salt
- 1/2 cup milk
- 2 tablespoons lemon zest
- 1 cup fresh blueberries
Instructions:
- Whisk together butter, sugar, lemon juice, and eggs.
- Combine flour, baking powder, and salt. Alternately add to the wet ingredients with milk.
- Fold in lemon zest and blueberries.
- Pour into a greased Dutch oven and bake at 350°F (175°C) for about 60 minutes.
Each of these recipes offers a unique flavor and texture, perfect for any occasion. If your sweet tooth craves more chocolatey goodness, be sure to check out our delicious Oreo Muffins recipe for a delightful treat. So, preheat that oven, gather your ingredients, and let’s bake up some magic!
Troubleshooting Common Dutch Oven Dessert Dilemmas
Solving the Most Common Dutch Oven Dessert Challenges
Even the most experienced bakers encounter hiccups now and then, especially when baking with a Dutch oven. Here, we’ll tackle some common issues and offer solutions to ensure your Dutch oven desserts come out perfectly every time.
Uneven Baking
Problem: Your dessert is cooked more on one side than the other.
Solution: Rotate your Dutch oven a quarter turn every 15 minutes during baking. If using an outdoor setup, rotate the lid in the opposite direction for even heat distribution.
Sticking
Problem: Your dessert sticks to the bottom of the Dutch oven, making it difficult to serve.
Solution: Ensure your Dutch oven is well-seasoned (for cast iron) or properly greased. Using parchment paper as a liner can also help prevent sticking.
Overbrowning
Problem: The top or bottom of your dessert is browning too quickly.
Solution: If the top is browning too fast, place a piece of aluminum foil loosely over the Dutch oven. For an overly brown bottom, try elevating the Dutch oven using a trivet or oven-safe rack to reduce direct heat.
Undercooked Middle
Problem: The edges are perfect, but the middle is still gooey.
Solution: Lower the oven temperature by 25°F (about 15°C) and increase baking time. This allows the heat to penetrate more evenly without overcooking the edges.
Dry Desserts
Problem: Your dessert turns out drier than the Sahara.
Solution: Check your dessert periodically and consider reducing the baking time. Ensuring a tight seal on your Dutch oven can also help retain moisture.
Adapting Recipes for Dutch Oven Use
Challenge: You have a favorite recipe but aren’t sure how to adapt it for a Dutch oven.
Advice: Most recipes can be adapted with minimal adjustments. Start by reducing the oven temperature by 25°F (15°C) and check for doneness earlier than the recipe suggests. Remember, Dutch ovens retain heat well, so your dessert may cook faster.
Final Thoughts
Baking with a Dutch oven can be incredibly rewarding, offering a unique set of challenges and rewards. By understanding how to troubleshoot common problems, you’re well on your way to Dutch oven dessert mastery. Remember, practice makes perfect, and every baking session is an opportunity to learn and improve.
Ready to move beyond troubleshooting? Our next section will answer some frequently asked questions about Dutch oven desserts, helping you become an even more proficient Dutch oven baker.
Expert Answers to Your Dutch Oven Dessert Questions
Demystifying Dutch Oven Desserts with Expert Insights
As we wrap up our culinary journey, let’s address some frequently asked questions about Dutch oven desserts. With expert answers, you’ll be better equipped to handle any baking challenge and enjoy sweet success.
How to Clean and Maintain Your Dutch Oven After Baking Desserts?
Answer: Cleaning your Dutch oven properly is crucial for its longevity. For cast iron, let it cool down, then use hot water and a brush to clean it. Avoid soap, which can strip the seasoning. For enameled Dutch ovens, mild soap is fine. Dry thoroughly and apply a light coat of oil to the cast iron before storing.
Can You Make No-Bake Desserts in a Dutch Oven?
Answer: Absolutely! Dutch ovens are great for no-bake desserts like cheesecakes or mousses. Chill the Dutch oven first, then add your ingredients and let it set in the fridge or a cool place. The heavy lid helps maintain a consistent temperature, ensuring your dessert sets perfectly.
Tips for Converting Traditional Recipes for Dutch Oven Use
Answer: To convert a traditional recipe for a Dutch oven, reduce the temperature by 25°F (15°C) and check for doneness earlier. If the recipe calls for a baking dish, ensure your Dutch oven has a similar capacity to avoid overfilling. Also, consider the depth of your Dutch oven, as this can affect baking times.
Best Practices for Storing Dutch Oven Desserts
Answer: Most Dutch oven desserts are best enjoyed fresh, but if you need to store them, wait until they cool completely. Cover them with a lid or foil. For longer storage, refrigerate or freeze in an airtight container. Reheat gently to preserve texture and flavor.
Is Preheating the Dutch Oven Necessary?
Answer: Preheating your Dutch oven can help with desserts that require a crisp bottom, like pies or tarts. It creates an immediate heat source that starts the baking process as soon as the dough hits the pan. For other desserts, it may not be necessary.
How to Avoid a Soggy Bottom in Pies and Tarts?
Answer: A soggy bottom can ruin a good pie. To avoid this, preheat your Dutch oven if the recipe allows. Also, ensure your filling isn’t too wet and that the dough is chilled and not overworked. Some bakers even add a layer of dry breadcrumbs or crushed cookies at the bottom to absorb excess moisture.
Can I Use a Dutch Oven for Baking Bread?
Answer: Yes, Dutch ovens are excellent for baking bread. They mimic the environment of a professional bread oven by trapping steam and creating a crusty exterior. Just be sure to follow bread-specific Dutch oven recipes for the best results. It seems there might have been a misunderstanding with your last message, as it appears to be incomplete. If you’re requesting a conclusion for the article on “Dutch Oven Desserts,” here’s how you might wrap it up:
Conclusion: Embracing the Art of Dutch Oven Dessert Baking
As we conclude our exploration of Dutch oven desserts, it’s clear that this traditional cookware offers more than meets the eye. From the even heat distribution that ensures perfectly baked treats to the versatility that allows for a wide range of recipes, the Dutch oven is a powerhouse in the world of desserts.
Whether you’re a seasoned baker or just starting out, the journey through Dutch oven baking is one of discovery and delight. The recipes we’ve shared are just the beginning. Expand your brunch menu with our guide on making Hawaiian Bread French Toast, a delightful dish that pairs wonderfully with the art of Dutch oven baking.
Remember, the key to Dutch oven baking is patience and practice. Don’t be discouraged by the occasional mishap; instead, use it as a stepping stone to perfect your craft. With each challenge you overcome, you’ll find your skills improving and your desserts becoming more impressive.
So, gather your ingredients, preheat your Dutch oven, and embark on a sweet adventure that’s sure to bring joy to your kitchen and smiles to the faces of those who taste your creations. Happy baking, and may your Dutch oven desserts be as rewarding to make as they are to savor!